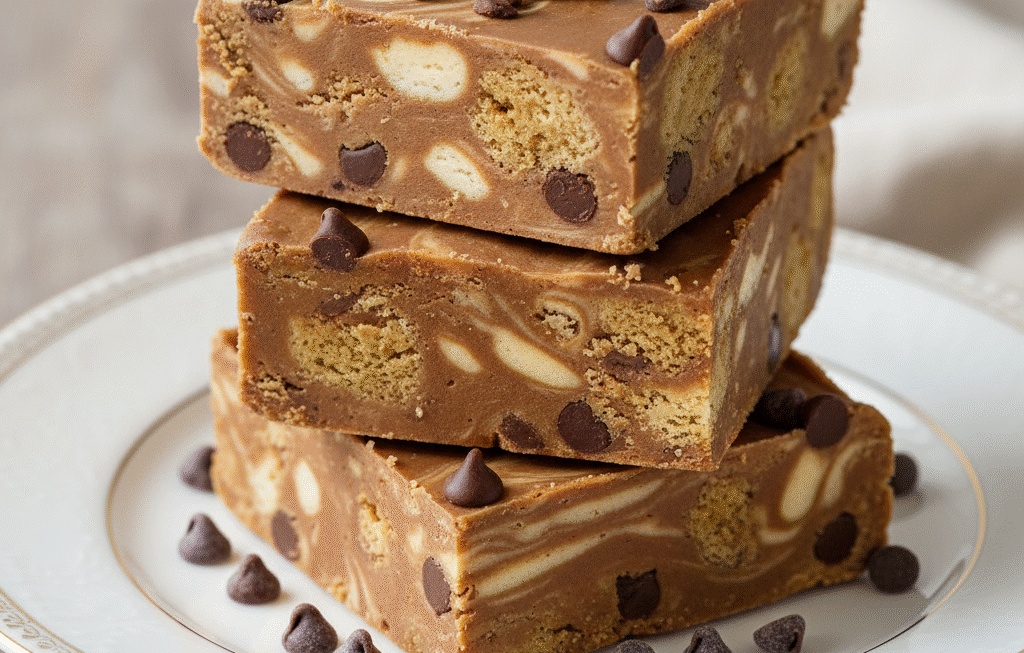
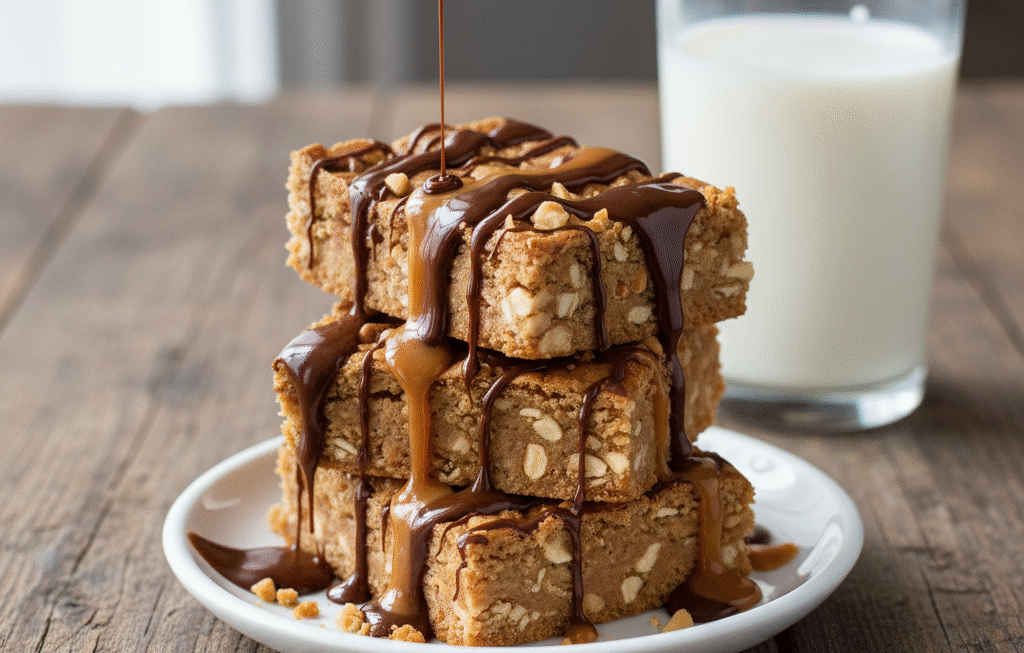
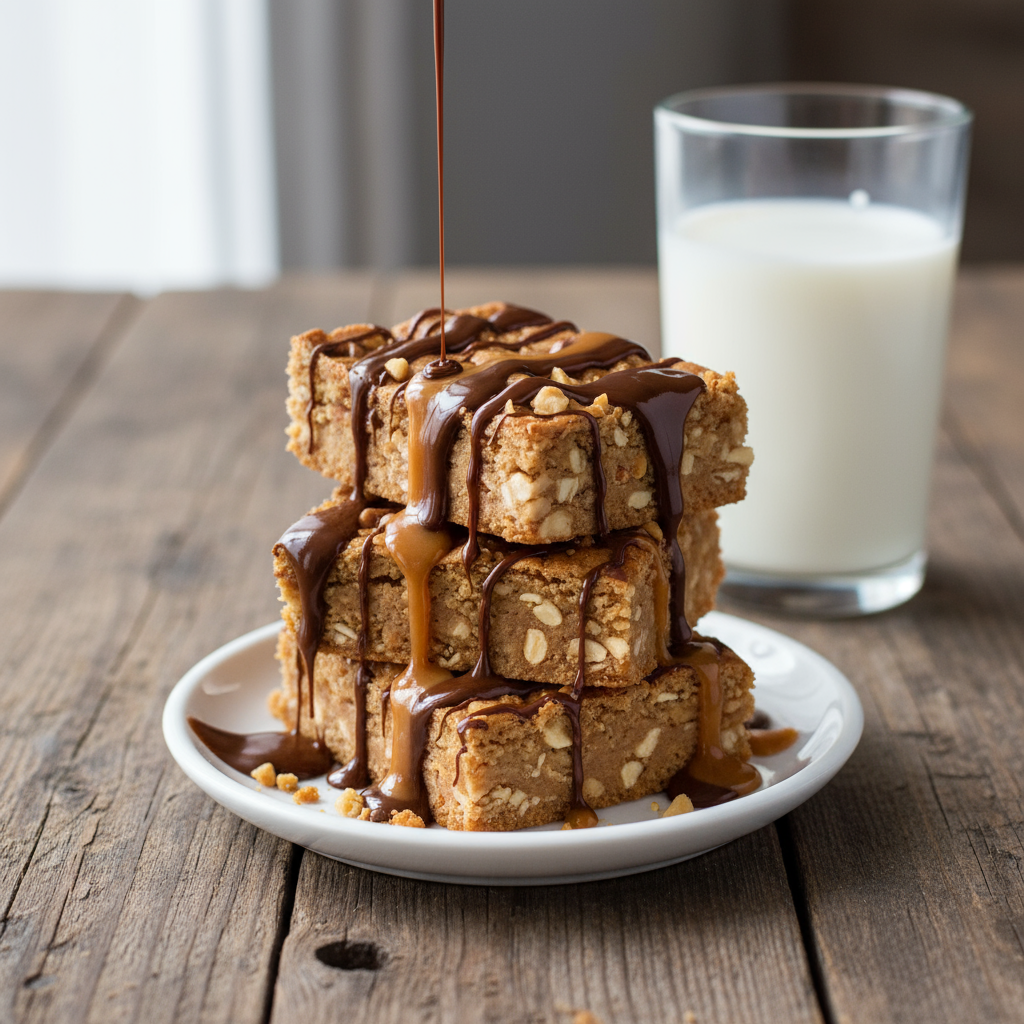
Hey friends! Today, I’m excited to share a baking recipe that’s not baked at all — but it’s every bit as indulgent and satisfying. These Peanut Butter Butterscotch Bars are a chewy, creamy, sweet-and-salty treat that tastes like childhood and comfort all rolled into one square.
Imagine biting into a soft, golden bar layered with graham cracker crumbs, creamy peanut butter, and melty butterscotch chips, all topped with a glossy layer of chocolate. It’s like a hug in dessert form — no oven required!
This recipe has a special place in my heart. My grandma used to make a version of these for summer picnics, and I remember sneaking extras from the fridge when no one was looking. They’re quick, pantry-friendly, and perfect for when you want something sweet without heating up the kitchen.
Recipe at a Glance
- Prep Time: 15 minutes
- Chill Time: 2–3 hours
- Total Time: ~3 hours
- Skill Level: Easy
- Servings: 16 bars (can double for a crowd)
- Tools Needed: 9×13″ pan, saucepan, spatula, mixing bowl
- Make-Ahead Friendly: Yes! Chill overnight for best texture
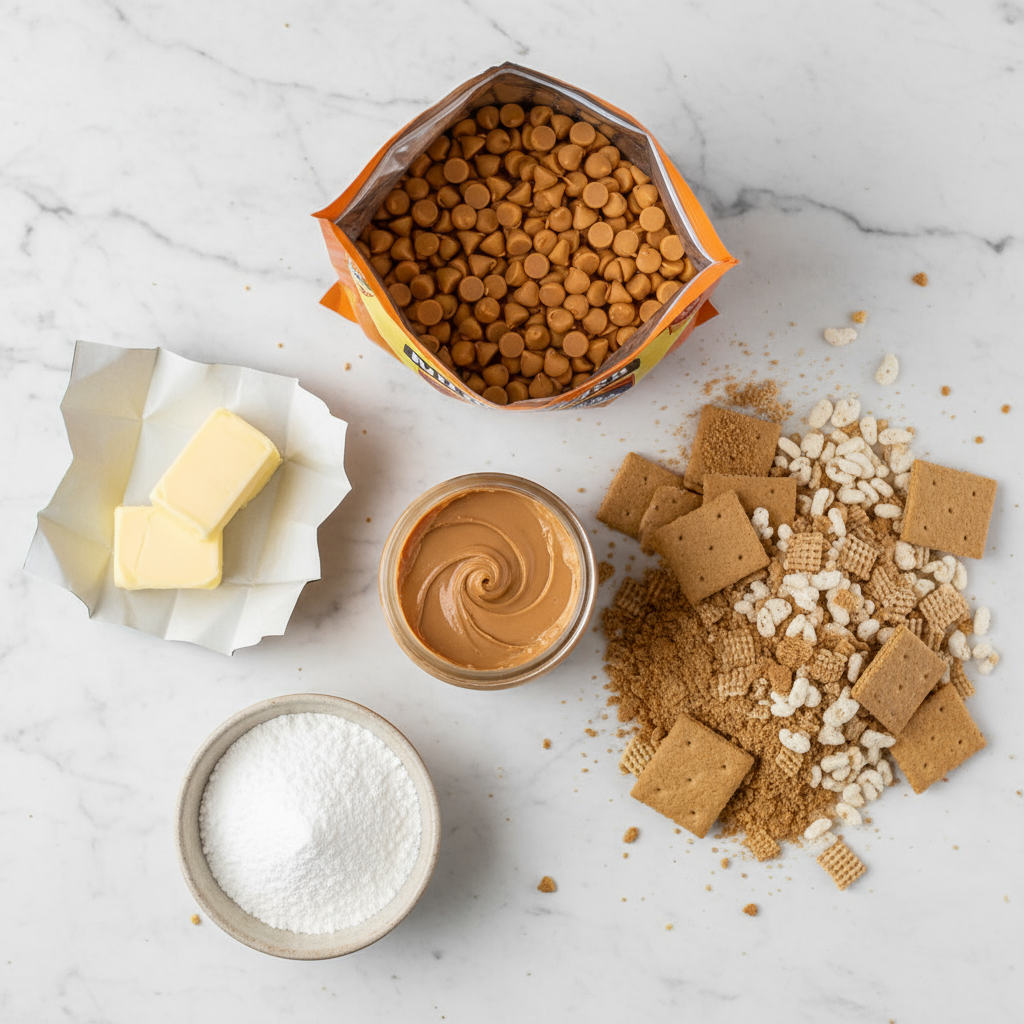
Ingredients List & Substitutions
Crust & Base
- 2 ½ cups graham cracker crumbs
Sub: Use crushed digestive biscuits or vanilla wafers - ¾ cup unsalted butter
Sub: Margarine works, but butter gives better flavor - ½ cup granulated sugar + ½ cup brown sugar
Note: Brown sugar adds depth and chewiness - 2 eggs, beaten
Sub: Use pasteurized eggs or egg substitute if concerned about raw egg - 2 cups mini marshmallows
Sub: Regular marshmallows chopped small
Filling
- ¾ lb butterscotch chips
Tip: Look for brands with natural coloring - 3 tbsp creamy peanut butter
Sub: Almond butter or sunflower butter for nut-free option
Optional Add-Ins
- ½ cup shredded coconut
- ½ cup chopped pecans or walnuts
Step-by-Step Instructions
Step 1: Prep Your Pan
- Butter or line a 9×13″ pan with parchment paper.
- This helps with easy removal and clean edges.
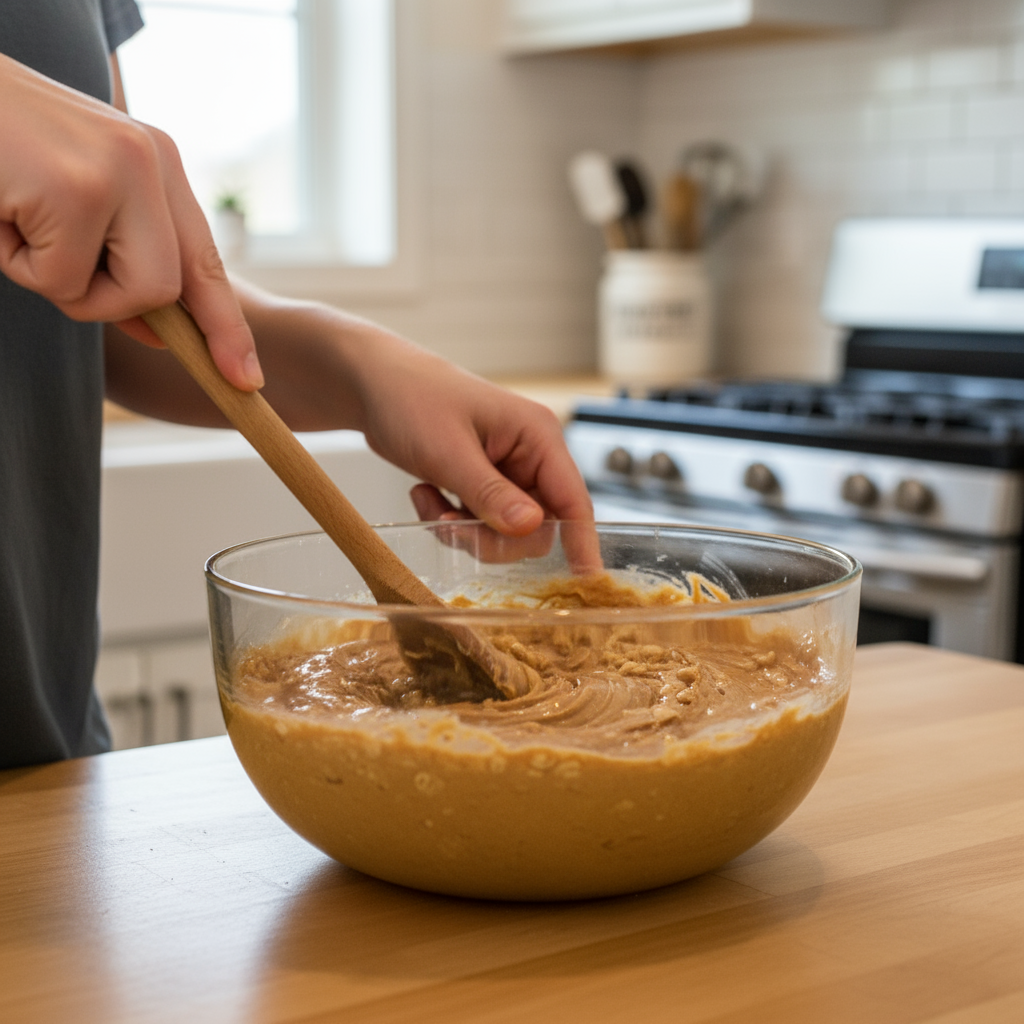
Step 2: Make the Base
- In a heavy saucepan, combine butter, sugars, and eggs.
- Cook over low heat, stirring constantly, until thickened (about 2 minutes).
- Remove from heat and stir in graham crumbs, marshmallows, coconut, and nuts.
- Press mixture evenly into prepared pan. It should feel sticky but firm.
Step 3: Make the Topping
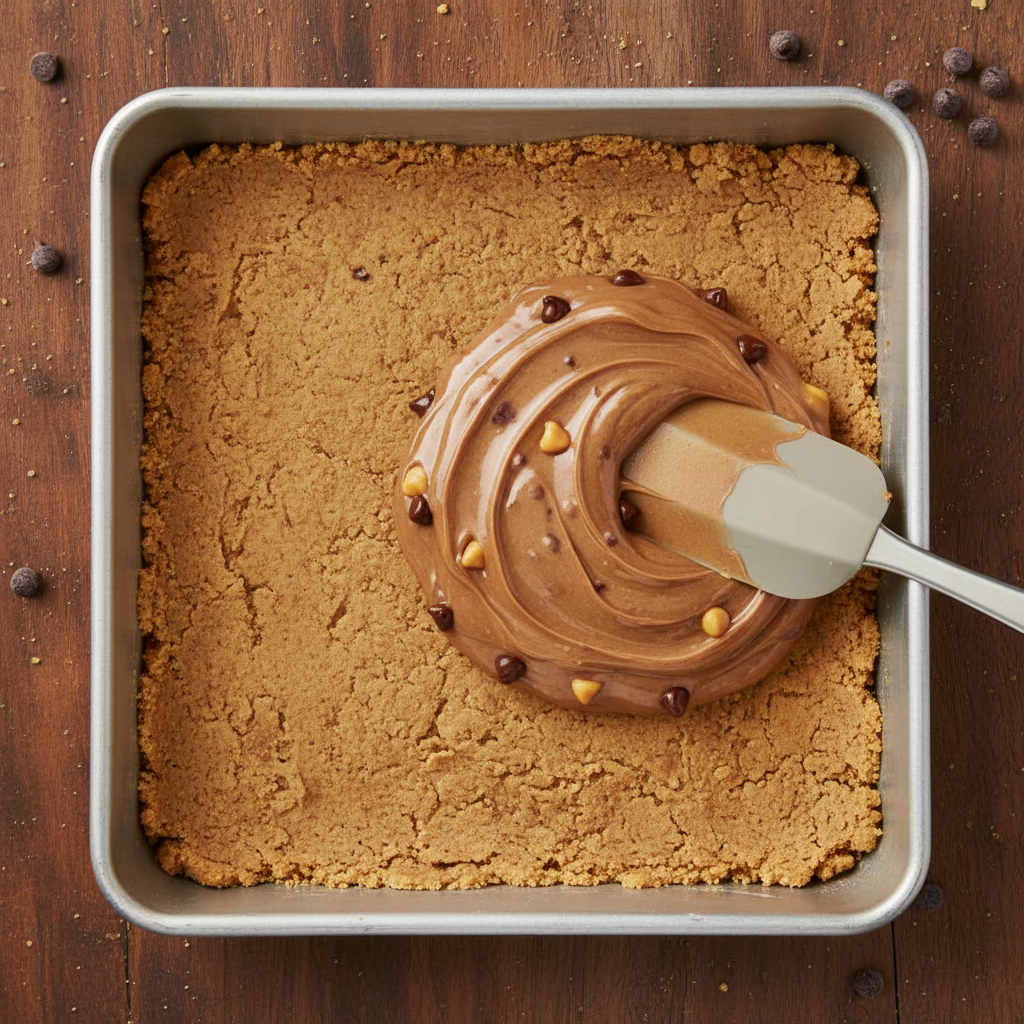
- In a small saucepan, melt butterscotch chips and peanut butter together.
- Stir until smooth and glossy — it should pour easily.
- Spread over the base layer with a spatula.
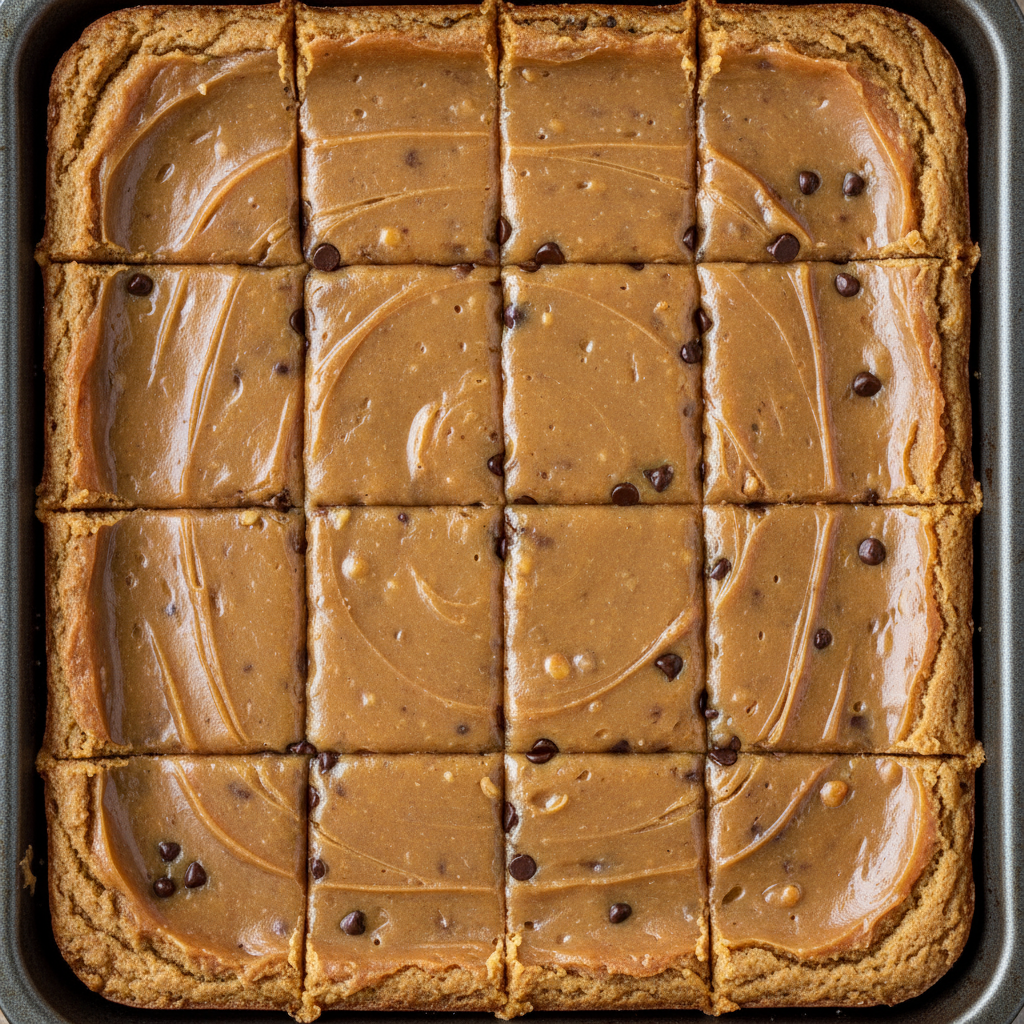
Step 4: Chill & Set
- Refrigerate for at least 2–3 hours, or overnight.
- Bars should feel firm to the touch and slice cleanly.
Serving & Storage Tips
| Storage Method | Duration | Notes |
|---|---|---|
| Fridge | 5–7 days | Store in airtight container |
| Freezer | Up to 2 months | Wrap tightly in foil or freezer-safe bag |
| Room Temp | Not recommended | Bars may soften too much |
Troubleshooting & FAQ
| Issue | Solution |
|---|---|
| Filling too runny | Chill longer or reduce peanut butter slightly |
| Crust crumbles | Press firmly into pan and chill thoroughly |
| Butterscotch chips seize | Melt slowly over low heat, stir constantly |
| Bars too sweet | Use unsweetened peanut butter or reduce sugar slightly |
Variations to Try
- Chocolate Swirl: Add melted chocolate chips to the topping and swirl with a toothpick.
- Salty Crunch: Sprinkle crushed pretzels or sea salt on top before chilling.
- Nut-Free: Use sunflower seed butter and skip the nuts for allergy-friendly bars.
Final Thoughts
These bars are pure magic — no oven, no fuss, just layers of flavor and texture that make every bite unforgettable. Whether you’re making them for a party, a picnic, or just a cozy night in, they’re sure to impress.
So grab your saucepan and let’s make something sweet together. I’d love to hear how yours turn out — drop a comment or tag me if you share!
Happy no-baking, friends!