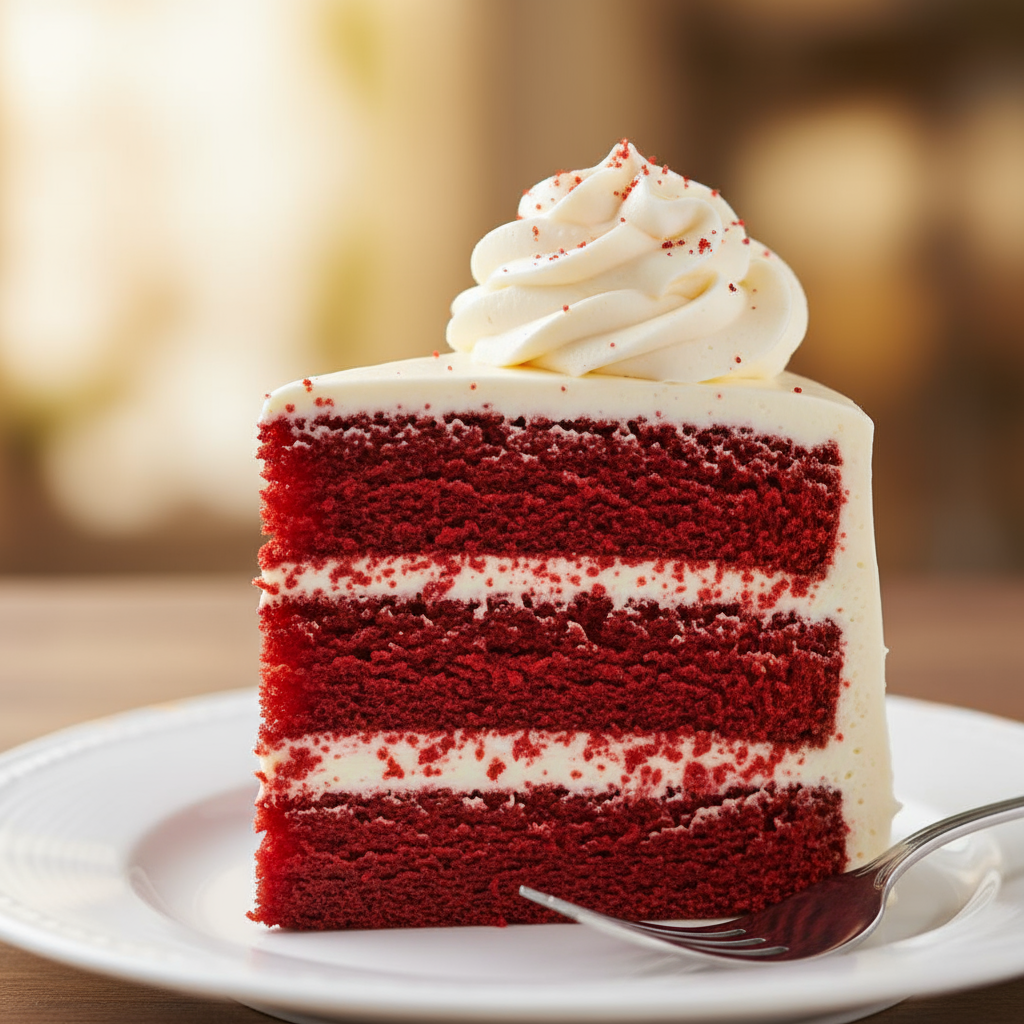
Hey friends! Today, I’m excited to share a baking recipe that’s become a favorite in my kitchen and heart: Ultra-Moist Red Velvet Cake with Cream Cheese Frosting.
Just imagine: a slice of cake that’s velvety soft, a beautiful deep red hue, with a whisper of chocolate and a gentle tang from buttermilk—and then that luscious, silky cream cheese frosting melting on your tongue. It’s the kind of dessert that makes you pause mid-bite and close your eyes in delight.
I fell in love with red velvet cakes when I first saw one at a friend’s wedding—towering layers, streaked with snowy white frosting, and crumbs of red peeking around the edges. I had to know how they made it so dreamy. Over months of baking (yes, many trial cakes were eaten!), I tweaked and tuned until I landed on this version: reliably moist, not overly sweet, and forgiving enough for even confident beginners.
What makes this red velvet cake special?
- It balances that cocoa-buttermilk tang and vanilla sweetness
- You use common ingredients (no exotic stuff)
- It’s a classic baked cake (no no-bake tricks), so you get that satisfying texture
- And it’s versatile—scale it up, turn it into cupcakes, or even decorate it simply or dramatically
Ready to bake some magic? Let’s go!
Recipe at a Glance
| Item | Details |
|---|---|
| Prep time | 20 minutes |
| Bake time | 25–30 minutes |
| Cooling / assembly | 40 minutes (plus chilling if desired) |
| Total time | ≈ 1 hour 20 minutes |
| Skill level | Confident beginner / intermediate |
| Yield | 10–12 generous slices (2 × 8-inch layers) |
| Scaling options | Use half quantities for a single 8-inch cake; or triple for a 3-layer cake; cupcakes: bake ~18–22 min |
| Tools needed | Two 8-inch round cake pans, parchment paper, electric mixer (or whisk & strong arm), spatulas, cooling racks, cake stand or plate |
| Make-ahead / meal prep notes | You can bake layers a day ahead and wrap them airtight. Frost on the day of serving. Layers can freeze (well wrapped) for 2 months. |
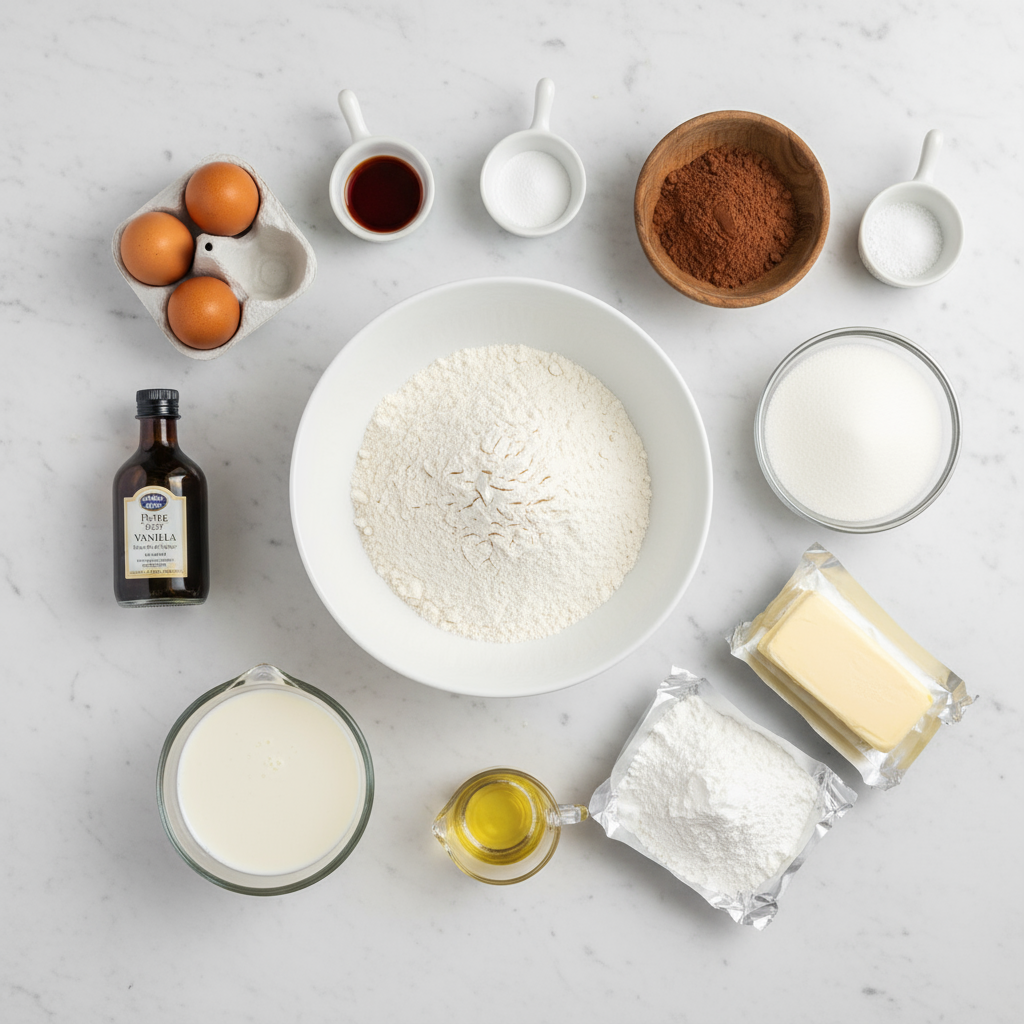
Ingredients
For the Cake
- 2 cups (240 g) all-purpose flour
- 2 tablespoons natural unsweetened cocoa powder
- 1 teaspoon baking soda
- 1 teaspoon baking powder
- ½ teaspoon salt
- 1½ cups (300 g) granulated sugar
- ½ cup (113 g) unsalted butter, softened
- 2 large eggs, room temperature
- 1 cup buttermilk, room temperature
- 2 teaspoons vanilla extract
- 2 tablespoons red food coloring (gel or liquid)
- 1 teaspoon white vinegar
For the Cream Cheese Frosting
- 225 g (8 oz) cream cheese, softened
- ½ cup (113 g) unsalted butter, softened
- 2½ to 3 cups powdered sugar, sifted
- 1 teaspoon vanilla extract
- Pinch of salt
Equipment Requires

Step-by-Step Instructions
Step 1: Prep & Preheat
- Preheat your oven to 175 °C (350 °F) (non-fan setting).
- Grease two 8-inch round cake pans. Line bottoms with parchment, and lightly flour (tap out excess).
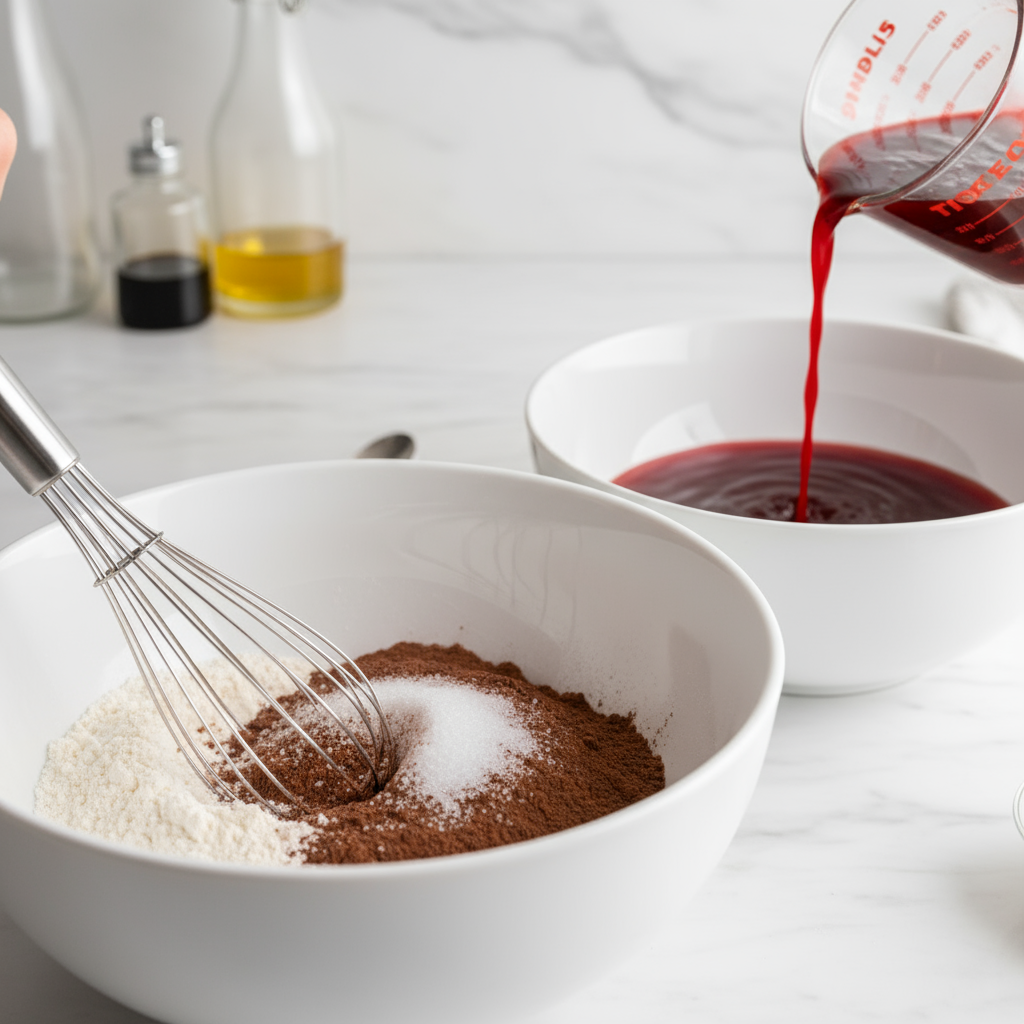
- In a medium bowl, whisk flour + cocoa + baking soda + baking powder + salt—set aside.
Step 2: Cream Butter, Sugar & Eggs
- In a large bowl or stand mixer, cream butter and sugar until fluffy and lighter in color (about 2 minutes).
- Add eggs, one at a time, beating well after each.
- Stir in vanilla extract.
Pro tip: Scrape down bowl edges occasionally to avoid unmixed pockets.
Step 3: Combine Wet & Dry
- Add buttermilk in 2 additions, alternating with dry mixture (i.e. half the flour mix, then all buttermilk, then remaining flour). Begin and end with the flour mix. Use gentle folding or low speed to avoid too much gluten development.
- In a small bowl, mix red food coloring + vinegar and stir into batter.
- The batter should be smooth, of a pourable-but-thick consistency, and a bright red color.
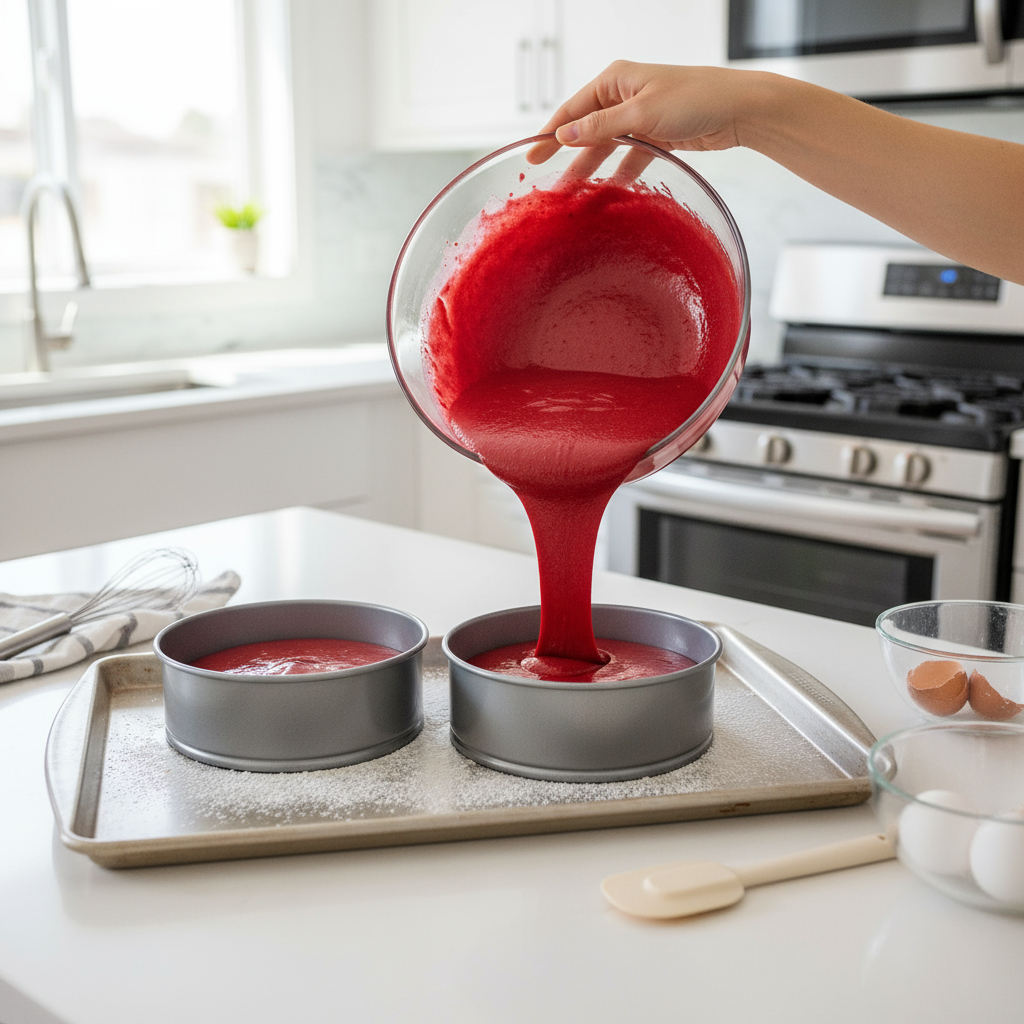
Step 4: Bake the Cake
- Divide batter evenly between pans (use kitchen scale if you like precision).
- Gently tap pans on counter to release air bubbles.
- Bake on middle rack 25–30 minutes, or until toothpick comes out with moist crumbs (not dry).
- Rotate pans halfway if your oven is uneven.
Check early around 22–23 min, since overbaking dries the cake.

Step 5: Cool & Wrap
- Let pans rest 10 minutes on wire rack.
- Run a knife around edges, invert onto racks, remove parchment, then flip right-side-up.
- Let cool fully (≈ 30 min) before frosting, or wrap and chill until ready.
Step 6: Make the Cream Cheese Frosting
- Beat cream cheese + butter together until creamy and smooth (~2 minutes).
- With mixer on low, gradually add powdered sugar, one cup at a time, until it reaches desired sweetness and thickness.
- Stir in vanilla and pinch of salt.
- Stop beating once well combined—avoid overwhipping, which can become too soft.
Step 7: Assemble & Frost
- If domes formed on tops, level them gently with a knife or cake leveler.
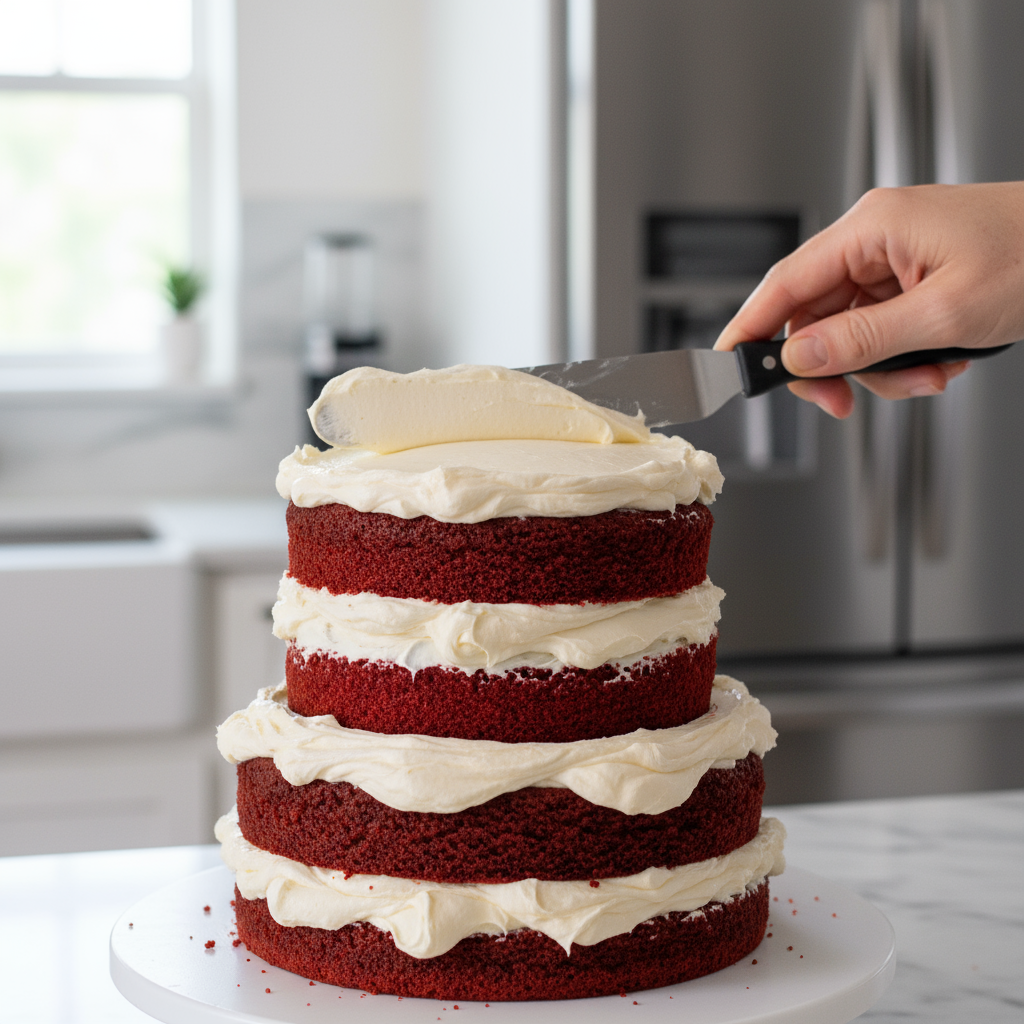
- Place first layer on cake plate. Spread a thick, even layer of frosting (⅓ to ½ inch).
- Top with second layer, then apply a crumb coat—a thin layer of frosting to seal crumbs. Chill ~15 minutes to set.
- Apply the final frosting layer, smoothing the top and sides. Use an offset spatula or back of spoon for swoops or texture.
- Optional: garnish with red velvet cake crumbs (from trimmed domes) or chocolate curls.

Sensory Checkpoints & Visual Cues
- Batter: bright red, silky (not lumpy).
- In oven: edges pulling slightly from pan, top should spring back lightly when pressed.
- Frosting: silky and smooth, holds shape but easily spreadable.
- When slicing: clean cuts, minimal crumbs.
Serving & Storage Tips
| Storage Location | How to Store | Shelf Life | Serving Tips |
|---|---|---|---|
| Room temperature | Cover cake with cake dome or wrap lightly | 1 day (only if room is cool and cake is well sealed) | Serve immediately after frosting softens a little |
| Refrigerator | Wrap cake or place in airtight container | 3–4 days | Bring slices to room temp (~30 min) before serving for best flavor |
| Freezer | Freeze individual slices or whole cake (well wrapped in foil & plastic) | Up to 2 months | Thaw in fridge overnight, then come to room temp; re-frost if needed |
Troubleshooting & FAQ
| Problem | What Happened | Fix / Tip |
|---|---|---|
| Filling or crumbs in frosting layer | Crumbs got into top coat | Always apply a crumb coat first, chill, then final coat |
| Cake is dry | Overbaked or too much flour | Reduce bake time, weigh flour instead of scooping, check early |
| Cake sinks in center | Undercooked or opened oven too early | Bake fully; don’t open oven until the later half of time |
| Frosting too soft | Room too warm, over-beaten, or too little powdered sugar | Chill frosting, stop over-whipping, add more sugar little by little |
| Color too pale | Food coloring not strong enough | Use more gel food coloring a little at a time; or try stronger brand |
| Layers sliding | Frosting too soft or layers not leveled | Chill cake slightly before adding top layer, use stiffer frosting, level layers |
Variations & Creative Twists
- Red Velvet Cupcakes: Use this same batter in cupcake liners (fill ¾ full). Bake ~18–22 min. Frost with the same cream cheese frosting.
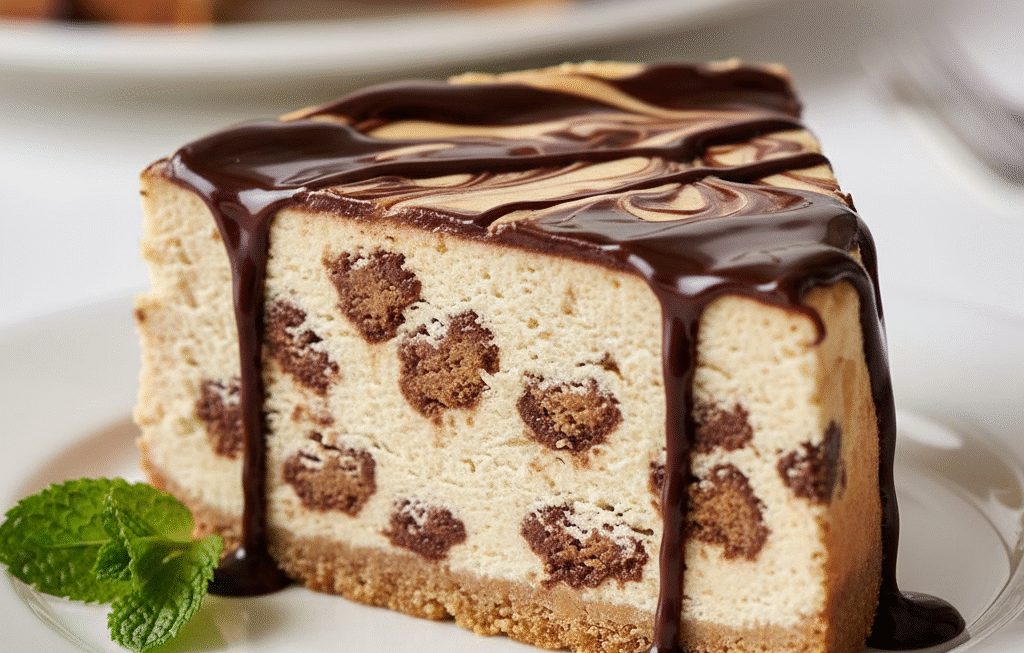
- Chocolate Chip Red Velvet: Gently fold in ½ cup mini semisweet chocolate chips into the batter before pouring.
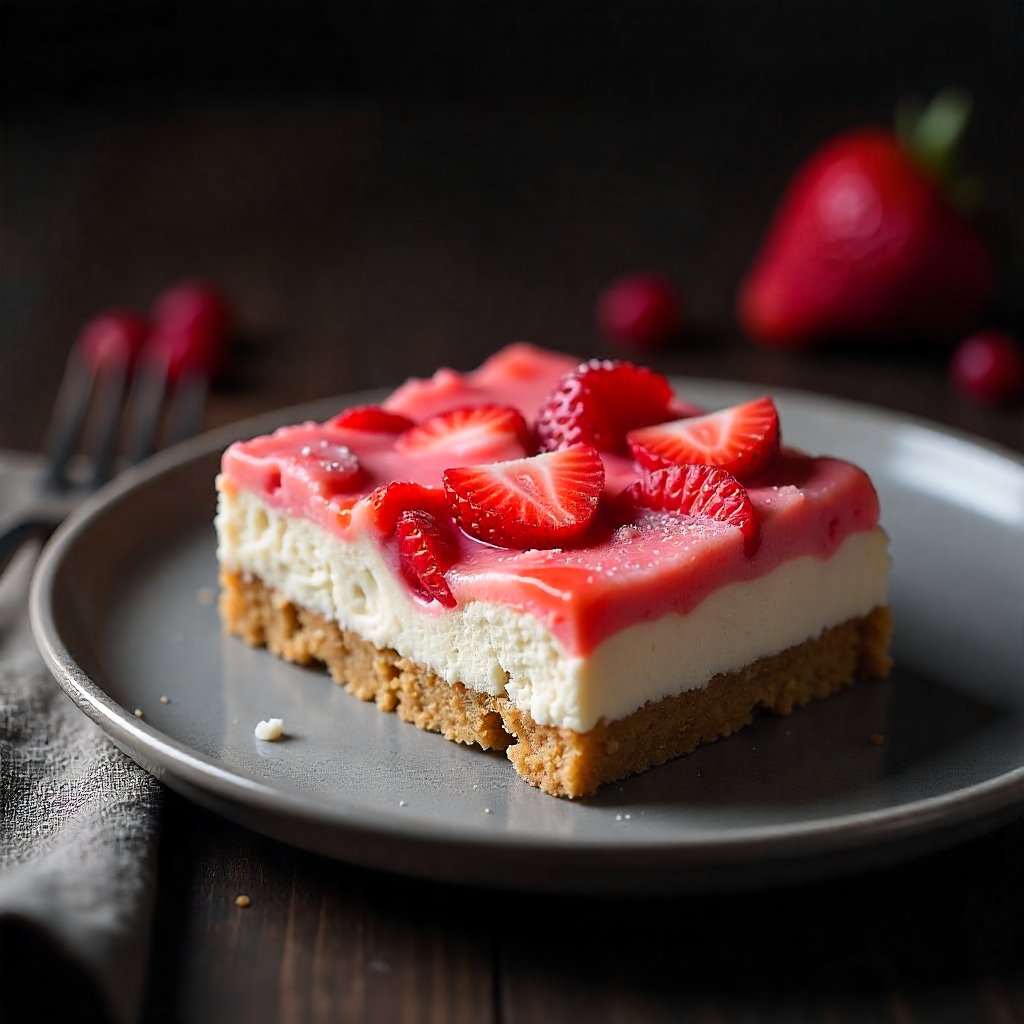
- Berry Swirl Frosting: Lightly fold in a raspberry or strawberry puree (strained) into the frosting to create a swirl effect and fruity note.
- Ermine / Boiled-Milk Frosting: For a lighter, vintage option (less rich than cream cheese), use a cooked flour-milk paste base and then fold in butter—perfect for warm climates or lighter tastes.
Closing Encouragement
There you go—your own dreamy, showstopper Red Velvet Cake that’s entirely achievable at home. I hope when you slice into it, you hear that satisfying edge giving way to soft, moist layers full of flavor.
You don’t need to be a pastry chef to make something unforgettable—just a pinch of patience, some good ingredients, and a willingness to enjoy the process (even the messy frosting moments). I can’t wait to hear how your cake turns out—please drop me a message or photo if you bake this one!
Happy baking, friends. ❤️